Mellow out with Element
I've always been dabbling in lutherie, or more accurately, guitar piddlin'! Several months ago I was given a great opportunity to work in a real guitar maker's shop! Here are some photos from the whole experience.
It had all started when one of my internet buddies stripped down and refinished his factory made guitar, which resulted in a great looking guitar and from what he tells me, a great sounding one, too. What comes next is all too familiar for piddlers...'Hey, I can do that....."
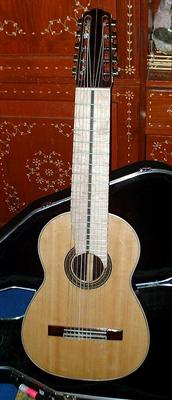
Now I have a guitar that I had a hand in building while back in the Philippines. Another friend of mine in Vermont had sent a a spruce composite or "double" top made up of 2 very thin spruce skins and a layer of nomex honeycomb in the middle. This is the same type of top used in the current trend of guitars built by Randy Reynolds, Kenny Hill, Matthias Dammann and several other like-minded luthiers. Unfortunately, just because a guitar is made of premium materials, doesn't guarantee a premium guitar. Experience plays a HUGE part for the end result....
The end result was a relatively quiet instrument with an interesting voice.
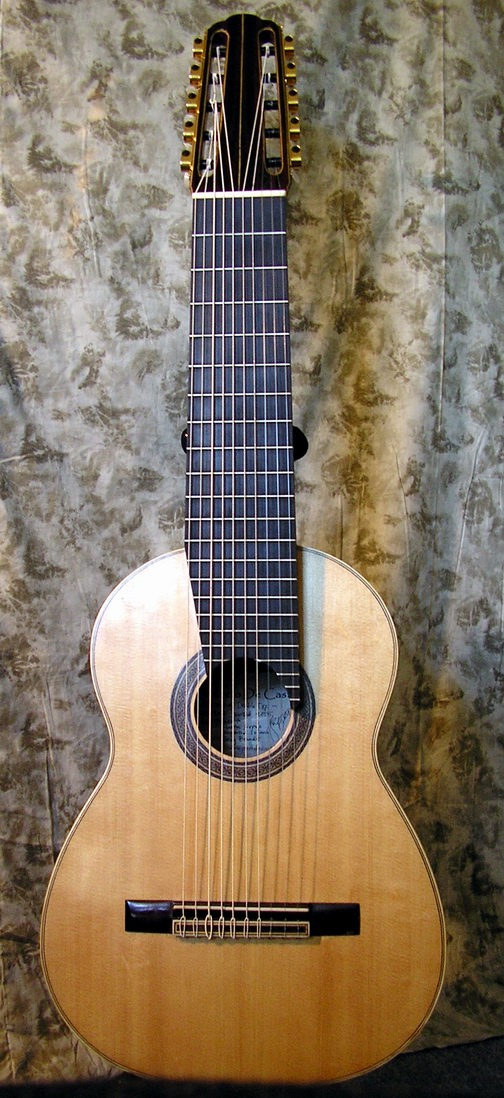
2004 Spruce Double top, Indian Rosewood back and sides
650mm scale length, 21 frets
Maple/Ebony fretboard
Cedro Neck
Brazilian RW bridge
Bone nut and saddle
Lacquer finish (very thick)

Now after hearing about my friend's project, I went out and bought a palm sander to sand away the thick finish, and maybe thin down the top some more to make it more flexible.
I got most of the lacquer off the top except for some spots in the bridge area, which I couldn't get to with the palm sander.
I had also started to thin down the lower bout perimeter to help the top move little more freely. The results were very promising, the basses had stated to come out a little more and I could hear the improvement volume-wise. Sooo... it felt good knowing that I'm on the right track.
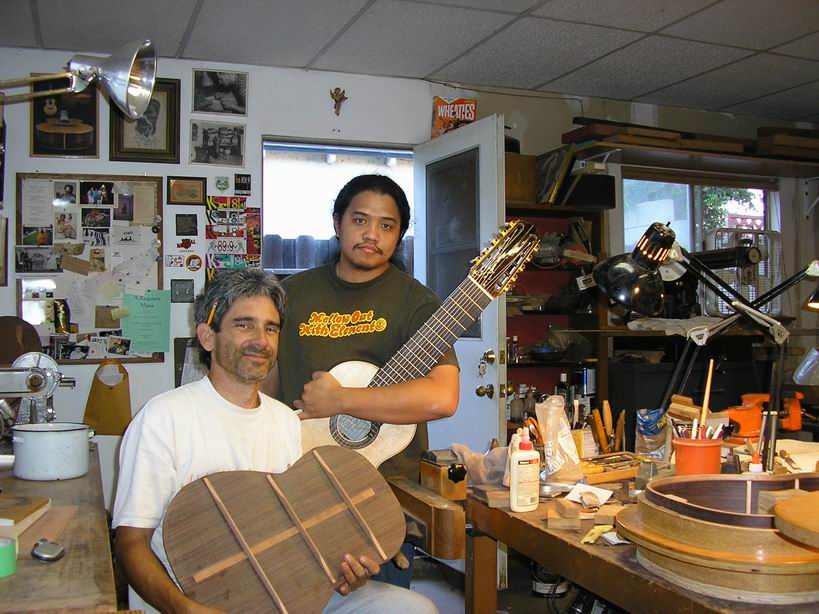
In the midst of all this piddling, I had mentioned my project to Los Angeles-based luthier Greg Brandt who listened with great interest. It turns out that aside from building great guitars, he also offers guitar building lessons for those inclined. I signed up and headed over to Greg's to show him my project.
Now since the initial refinishing idea, the project has turned into a full-blown guitar revision. Since I'll be working in an actual guitar shop as opposed to my music room, I figure I go all out and change some of the things that I didn't like on this guitar. With Greg's help, I'll less likely screw things up.
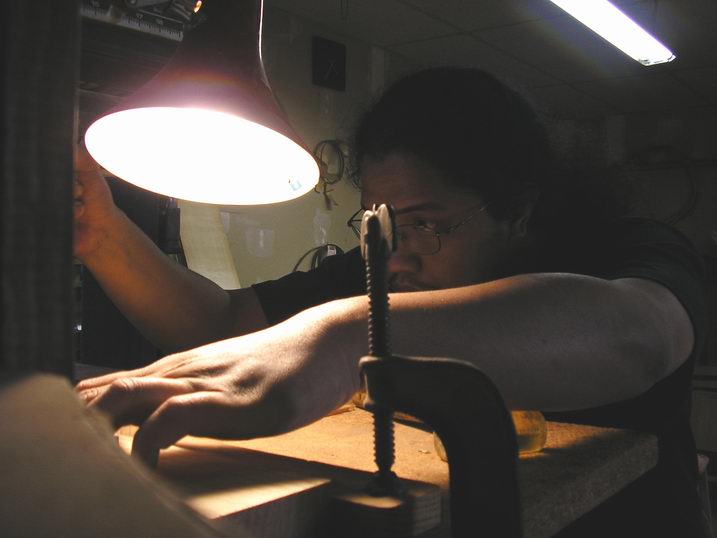
We decided to take the bridge off, so I can sand the top more evenly. Unfortunately, I wasn't able to take photos of every step so I'll try to describe it the best I can.
To take off the bridge, we used heat from his lamps to melt the glue. When the glue was soft, he carefully used a sharpened spatula to get underneath the bridge and lift it off the top. This process is nerve-wracking for the faint of heart!
I had also decided to take off the maple/ebony/maple fingerboard and replace it with a "normal" all ebony fingerboard. Greg gave me instructions on how to do it so I could perform the operation at home.
FRETBOARD REMOVAL
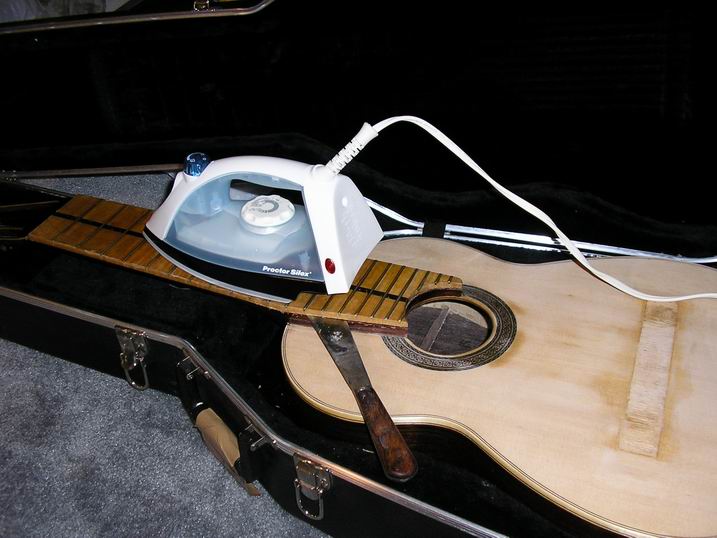

I used an ordinary steam iron to heat the fretboard and loosen the glue. When the glue was soft, I used the same sharpened spatula to pry the fingerboard off from the neck
After a bit of searching, I found a supplier for an oversized ebony board, thanks to the Luthier Forum.
FRET SLOTTING
In the original build, the bridge ended up further towards the tailblock than I would have liked and I've always felt that the bridge wasn't at the most active part of the soundboard. I decided to change the scale length to 640mm and move the bridge towards the soundhole, and free up some more area in the lower bout.
Greg has a neat setup for fret slotting, consisting of a radial saw and his template of measurements. He still uses the fret spacing formula that he learned from his teacher, Bob Mattingly.
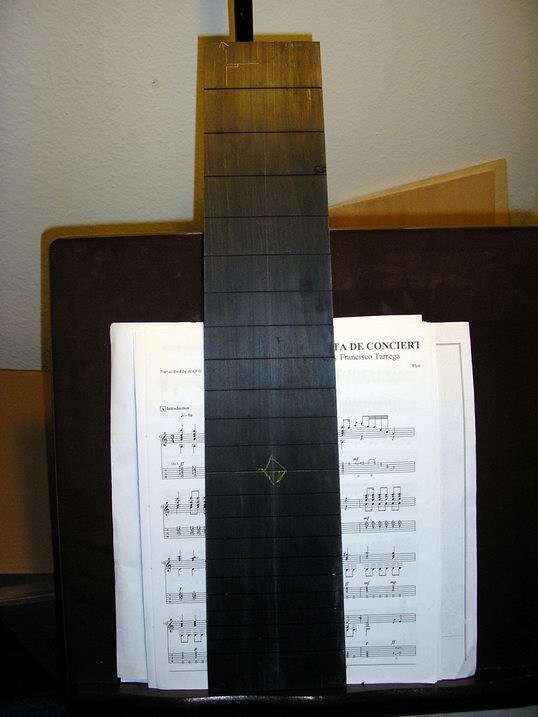
Here's a shot of the slotted fingerboard. Since we shortened the scale length, we were able to fit in a 22nd fret in there.
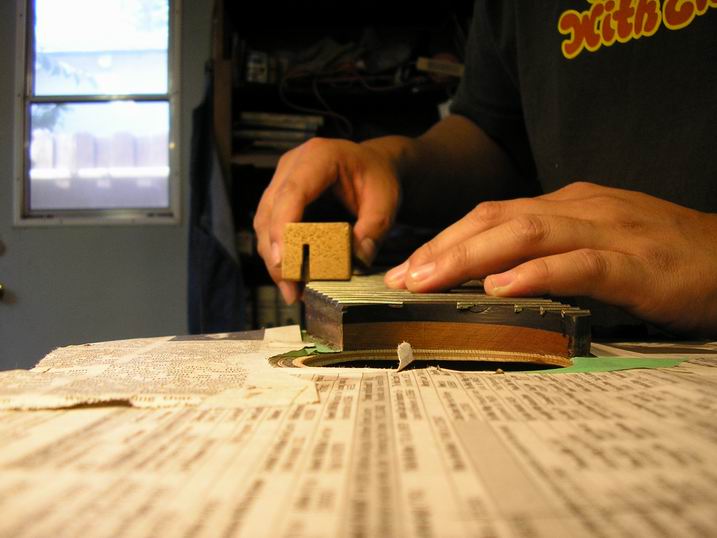
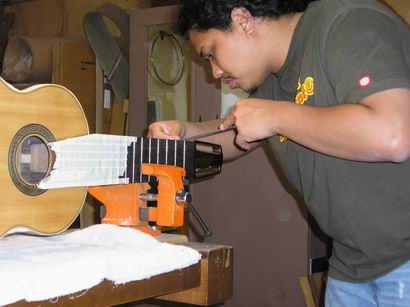
Here's a shot of the fingerboard being clamped on.
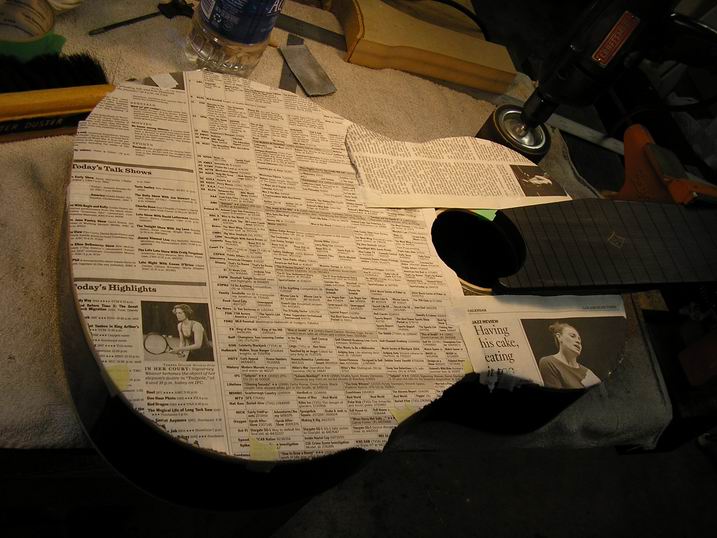
Here's a novel way to protect the top
FRETBOARD LEVELLING
Leveling the fingerboard.
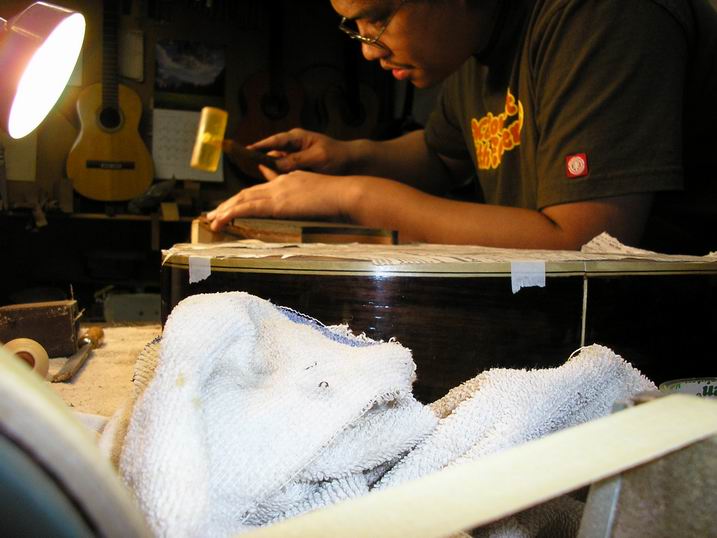
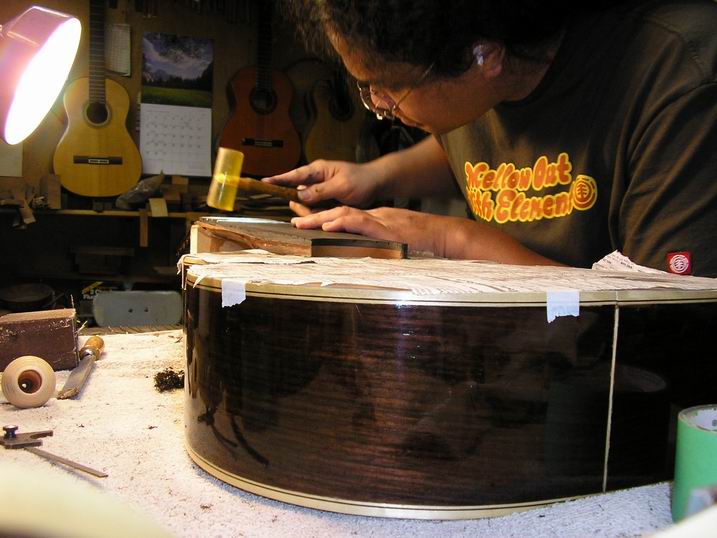
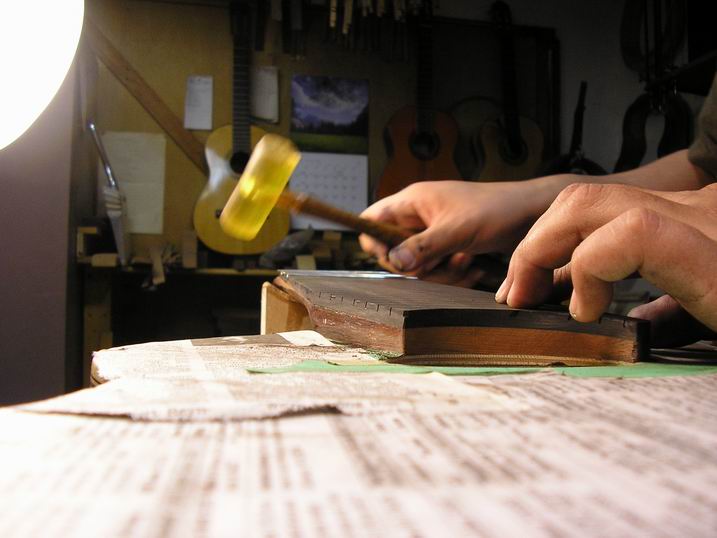
FRETTING
Hammering the frets in.
FIXING THE FRET ENDS
Leveling, clipping and dressing the fret ends
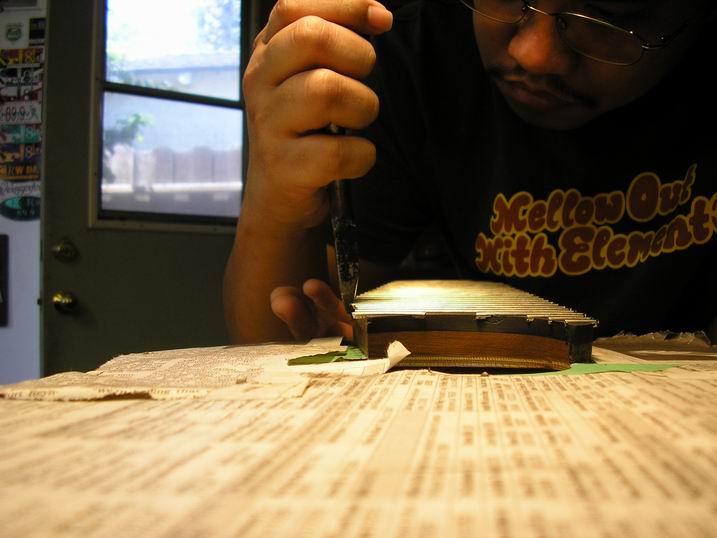
The files were pretty interesting and very helpful. Back in the Philippines, we filed and ground down each individual fret by hand...tedious to say the least. These files get the fret ends flushed and beveled to the edge of the fingerboard.

FINISHING
I wasn't able to take photos of the finishing process. I did follow an online tutorial on guitar finishing and I chose the easiest route, which is a oil varnish on a shellac base. I took an even easier route by getting the shellac in aerosol form instead of the usual shellac in a can that you have to mix with denatured alcohol.
I sprayed 4 coats of shellac then sanded it 220 then 600 before I started rubbing in the oil varnish. I couldn't find tru-oil and the nearby hardware store so I just went with tung oil. I applied the tung oil by hand, rubbing it in using circular strokes, similar to the way French Polish is applied.After several sessions, I was able to put on a nice understated finish with a soft glow to it.
NECK SHAPING
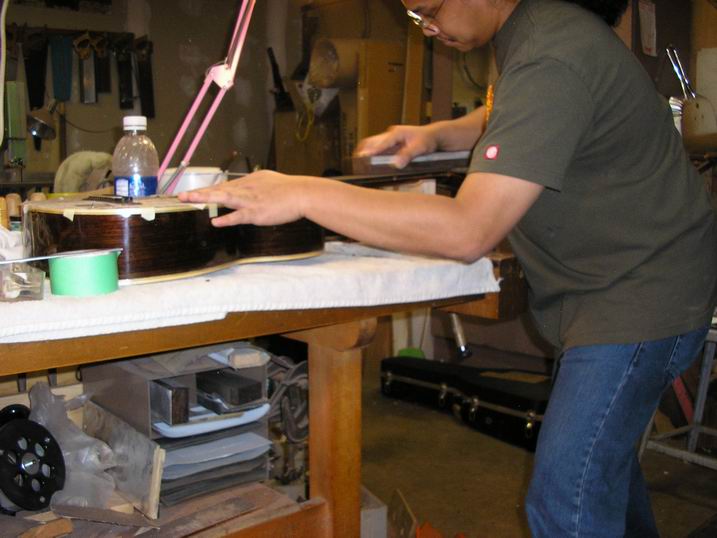
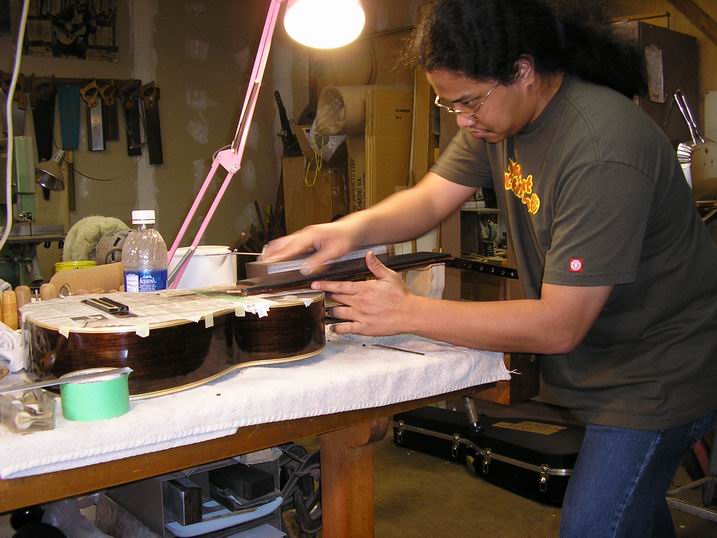
The original nut width was wide...VERY WIDE at 89mm!!! Here's a couple of shots of me trimming down that width to 86mm.
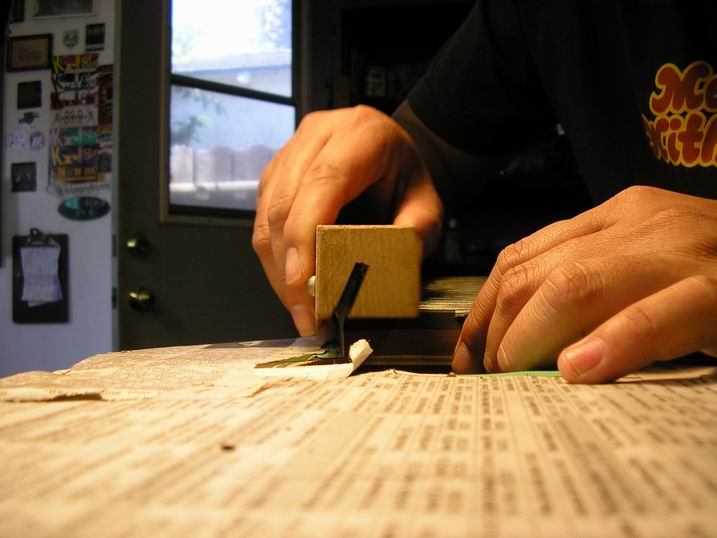
LOCATING THE BRIDGE
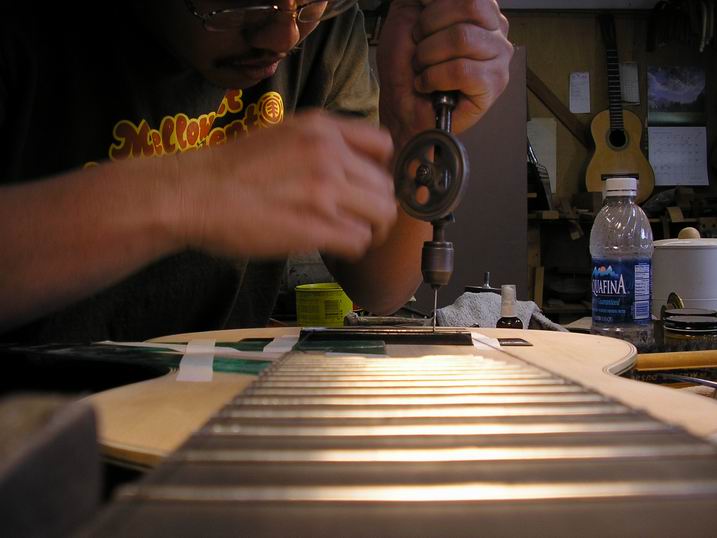
Here's another heart stopper! <LOL> After locating the bridge, I drilled two holes from the saddle slot into the top! These holes will hold the locating pins need to glue in the bridge at a later date. The first hole went in with no problems, but the 2nd hole just missed a braced underneath!
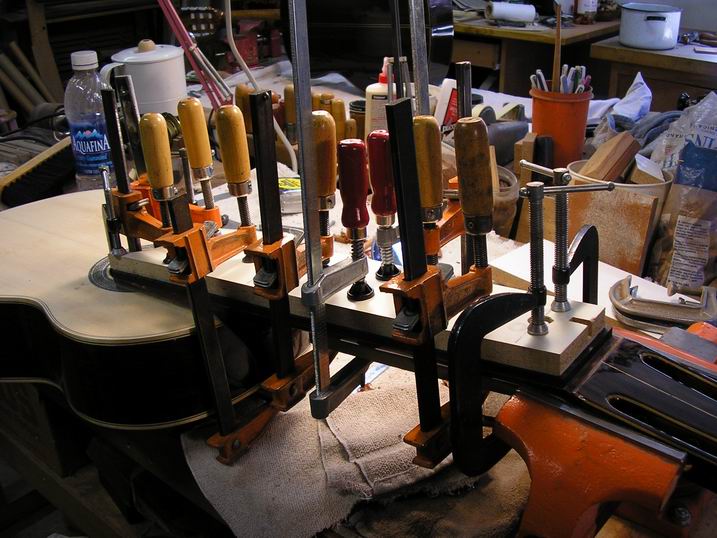
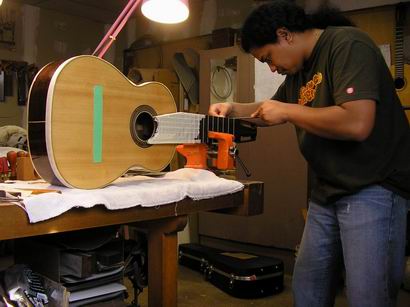
Here's the bridge being glued on.
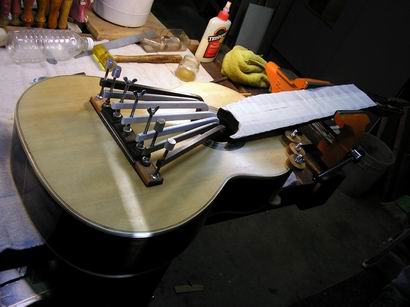
Another significant difference between the original build and this revision is the use of hide glue. The original used white and yellow glue for the bridge and fingerboard, this time Greg and I used hide glue.
WRAPPING IT UP
Greg offered to do the final tweak and setup of the guitar and he did a beautiful job. The frets are nice and level with no buzz. We were able to modify the old nut and fit it into the new neck width. Greg also did a great job in laying out the string spacing. The result is a very comfortable guitar to play as far as the left hand goes.
The 640mm scale length is also very comfortable and easy on the left hand. I initially had my doubts on the shorter scale length, thinking that I might have trouble playing the upper frets but I can now say that that's pretty much a misconception. I was playing for the most part of 45 minutes at Greg's shop and I totally forgot that my left hand was recovering from injury! :-)
The tone is very woody, throaty even, and has an old feel to it. Old as in "played in", reminiscent of the old spruce classical guitars I have had the pleasure of playing.
I also had my doubts on its volume and projection because it doesn't sound loud at all from the player's perspective. But Greg says that I shouldn't worry about lack of projection on this guitar, he says it projects nicely. He's just not used to a particular quality in the voice and says that it's probably the nomex talking.
All in all a successful project, in my opinion. I'm just glad I didn't destroy it :-)
VIDEO SAMPLE:
Here's a quick video of me playing the guitar.... I need a little practice and I'm predicting a lot of playing time in the coming days!
Available in
Windows Media Player video format
or Quicktime movie format
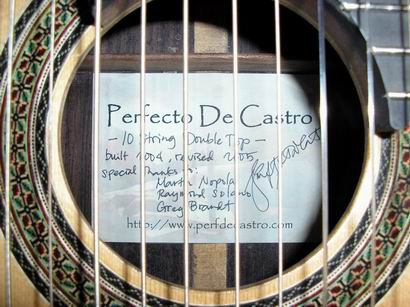
Special thanks to:
Martin Nopola - for building and sending me the spruce composite top
Raymond Solano - for helping me build it the first time around
Greg Brandt - for allowing me to run around his shop and bug him about modifying this guitar
Cheers!
PERF DE CASTRO